
If you are here, congratulations on taking the leap and deciding to deep clean your house. We all know that feeling of satisfaction when our homes are spick and span; The absolute ‘Good Feels’ one gets when Project House Cleaning is done!
We all love a clean and tidy environment, and our home is where it all begins and ends. It’s where we relax and recharge. So, it’s good to have the place all tidy and clean to better recuperate from the stresses of the day and prepare for tomorrow.
And just like all environments, our homes too need TLC at regular intervals. One way to show this love is by deep cleaning the house once every few months.
But hey, we get it. The thought of deep cleaning your entire house can be daunting. From rooms to surfaces, and everything in between, it’s a lot to handle. But fear not, because we’ve got the ultimate, newbie-friendly guide to make it all a breeze.
Here’s a guide on cleaning tips for beginners to get you going.
Game Plan: Divide and Conquer!
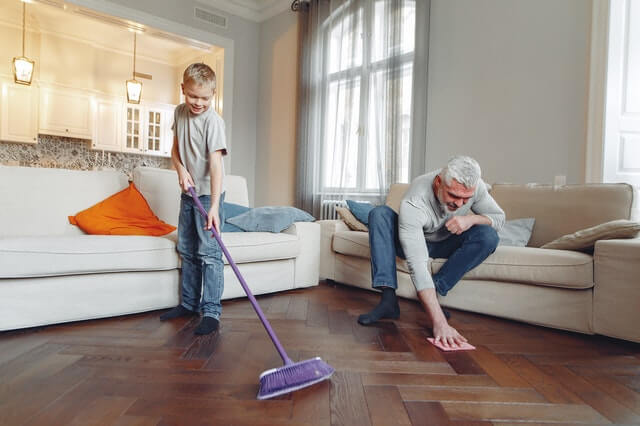
Think of deep cleaning as your epic quest. Break it down into bite-sized tasks, create a checklist, and tackle them one by one.
This is your battle plan where you look at completing each task, one by one. Divide your cleaning activity based on the nature of the job and the time it would take. Make a simple checklist and assign them priorities or an order. It’s okay if you spread this work over the next few days or weeks even. It’s all about getting the job done. No need to rush; it’s not a race.
When you decide to deep clean your house, remember – it is a marathon.
Let’s Kick It Off with Decluttering
A fantastic warm-up for your deep cleaning mission! Toss aside the misplaced items and reclaim your space. Consider it your prep for the deep cleaning adventure ahead.
It’s simple, just pick up items that are on the floor or out of their place and put them back. It won’t take you too long to complete this, and you will also be throwing away the junk that has been sitting around ignored. You can think of this as a warm-up for the deep cleaning mission. Also, you would be clearing the areas for easy access to deep clean your house.
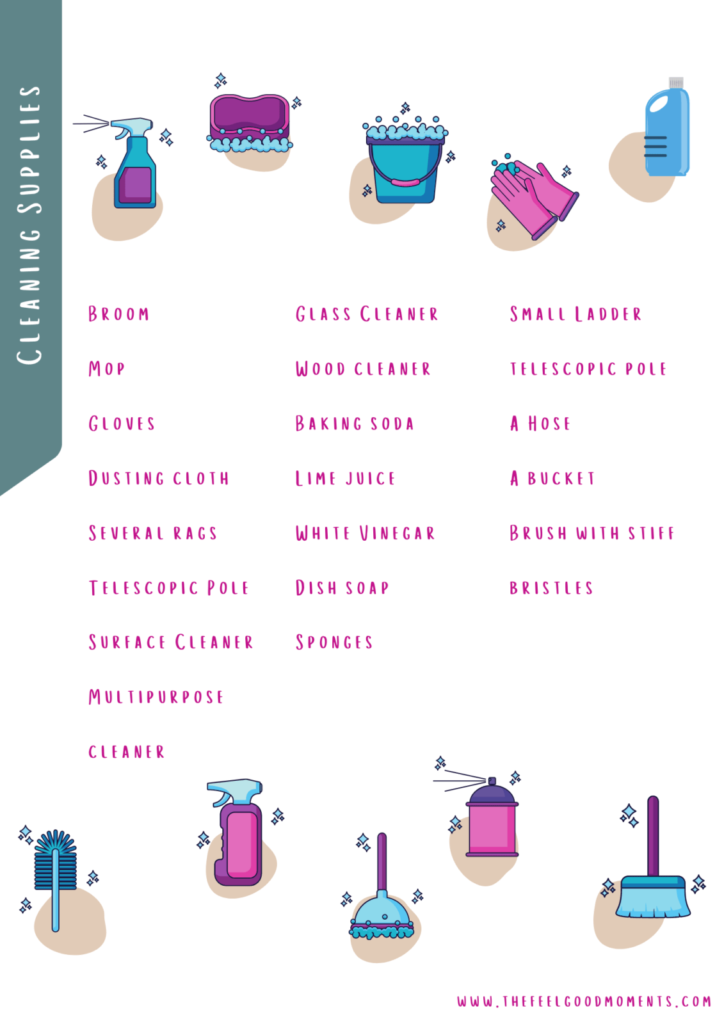
Keep Your House Deep Cleaning Checklist Ready
Before you jump in, make sure you’re armed with all the tools and cleaning products you need. Preparedness is the key to a successful cleaning spree, especially if you have a busy lifestyle and every time you feel like a beginner when cleaning your home.
Well, you get the idea.
Now that you are ready, locked, and loaded, let’s get this thing done room by room.
OK.
Deep breath.
Put on some peppy music for that feel-good can-do motivation.
Here we go.
A Room-by-Room Guide to Deep Clean Your House
Bathroom
Let’s begin in the bathroom.
Soak and Scrub
Before you go in all heavy-duty, spray the multipurpose cleaner on tough stains and let them soak for a while. This will help break up the accumulated dirt, oil, and soap. Do the same with the sinks and toilet bowls. This will make the scrubbing and cleaning process easier. Remember to unclog the drains. Don’t forget to clean the grout between the tiles with a multipurpose cleaner and a bristled brush. You can alternately use a mixture of vinegar, water, and baking soda.
Wipe Down
Give your windows, mirrors, and fixtures a good wipe down. Get into the corners and edges to clean out the gunk. You can use a multipurpose cleaner or a little vinegar on a damp cloth. If you have a glass shower door, be sure to wipe it down to get rid of the water spots and soap scum. You can use a mixture of white vinegar distilled with warm water. If there are hard stains, let it soak for 30 minutes and you can gently scrub the spots with baking soda to do the trick.
The Shower Curtain
If you have a shower curtain, take them off and give it a thorough wipe down, and then hang it back to dry in the bathroom. Remember to wipe down the curtain rod as well. Any cloth curtains, towels, floor mats, etc. need to be tossed into the laundry and replaced with a fresh one.
Don’t Forget the Storage
Any cabinets need to be emptied and thoroughly cleaned and wiped down. Throw out all empty bottles, expired products and reorganize the items that you need. The buckets and mugs that you use in the bathroom also need to be scrubbed clean and arranged neatly in a corner of the bathroom.
The bathroom is done.
Kitchen
The next stop is the kitchen. Let’s begin:
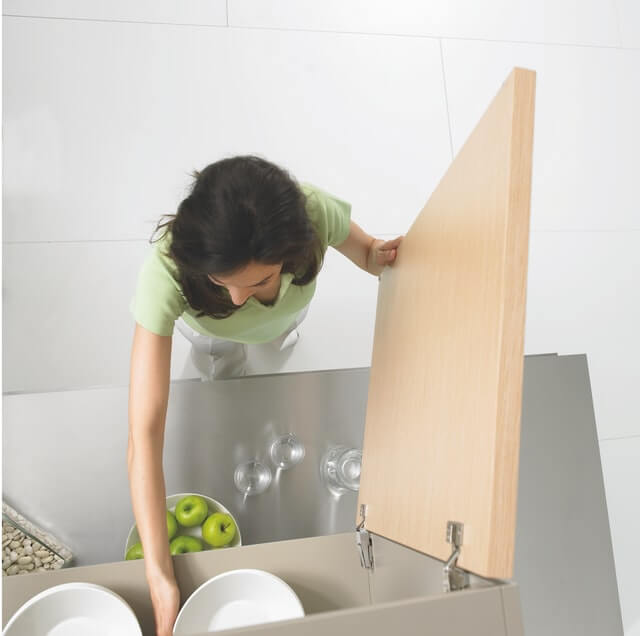
Cabinets and Cupboards
Empty the storage and wipe them down with a damp cloth. You can do this systematically, one storage at a time, so you are not overwhelmed and can tick more items off your cleaning checklist. If your cabinets are made of wood, remember to wring out the damp cloth to avoid swelling due to too much moisture. And dry them off quickly with a dry wipe. Clean all surfaces of your cabinets and cupboards to get rid of grease stains and splatter. Make sure to get into the corners and edges to banish accumulated dirt. Toss away any item you don’t need and reorganize the shelves.
Here’s a simple tip. You can affix newspapers on the base of your storage. So next time you just replace the paper that has collected the dirt.
Clean the Fridge
The same steps here too. First, empty the contents and toss away what you don’t need and anything that’s gone bad. Take off the shelves and clean them. Remove any food debris from the inside walls. Work your way from top to bottom. Now you can reorganize the contents back into the fridge. The same process is to be followed for the freezer as well. Remember to wipe down the external surfaces, especially the top of the fridge, and the door handles. Replace the cloth that we love to hang from the fridge door. If you are using the top of the fridge as additional storage, we suggest you keep it clear and find a cabinet for the stuff that resides on top of the fridge.
Throw and Toss
Old sponges and worn-out scrubbers are essentially germ magnets. If you buzz them in the microwave or even boil them, you won’t be achieving anything. It’s best to replace them. All aprons, rugs, rags, and any other cloth you may use in your kitchen needs to be tossed into the laundry.
The Stove Top and the Exhaust Vent
To clean your greasy stovetop, range hood, exhaust vent or fan use mineral oil to wipe the film away followed by dish soap and warm water to remove the oil.
Clean the Sink
The kitchen sink is amongst the germiest places in the house. you need to give your sink a good scrub with a disinfecting cleaning solution. Remember to unclog the sink drain as well and wipe down the faucets.
Clean the Ovens
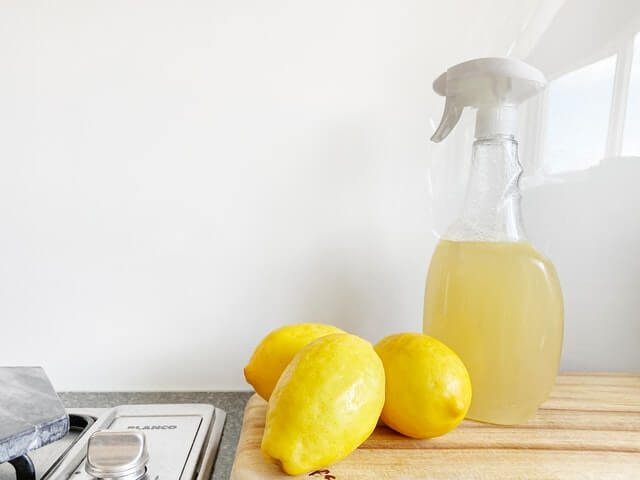
If you have a microwave, you are bound to have food splatters on the oven walls inside. Microwave a bowl of water mixed with a tablespoon of vinegar or lime juice for five minutes. The vapor will loosen the stains and make it easy for you to wipe them down.
If you have a regular oven you can clean it with a DIY cleaning solution. Make a paste of 5 drops of dish soap, 5 tablespoons of baking soda, and 4 tablespoons of vinegar. Slather it on the stains inside the oven and wait a while before scrubbing clean. For really stubborn stains use half a lime or lemon with a few drops of dish soap over it and rub it in. Scrub and wipe clean.
And Finally, the Countertops
If you have any appliances on your countertop then wipe it down with an appliance cleaner. The countertops and the backsplash will need a good wipe down with a multipurpose cleaner followed by a disinfectant. Be sure to get into each corner and edge. While you are at it, give the walls a proper wipedown too.
Wow! The kitchen is now sparkling.
Good Job.
Living Room
Moving on to the home’s popular hangout – the Living Room:
Upholstery
Remove all the cushions and cushion covers, curtains, rugs, and carpets and wash them as per instructions. Get your vacuum cleaner and get into the edges and spaces underneath the sofa to get out the crumbs, hair, and dust that reside there. You can use rubbing alcohol and a microfibre cloth to stains on the sofa’s surface. Using a white cloth will help prevent any colors from bleeding into the fabric of the upholstery.
Wooden Surfaces
Empty the cabinets, bookcases, and coffee tables and clean them with a dust rag followed by a wooden polish/cleaner. If you find any scratches, you can rub a walnut to fix them. If there are any water surfaces, remove them immediately.
Dusting
Wipe away the dust settled on your TV surface and electronics, cabinet tops, paintings and wall art, wall clocks, lampshades, fans, knick-knacks, and display items, and any flat surface you can find. Be careful when you dust, you don’t want the dust flying off from one surface just to land on the next. Use the telescoping pole to banish any cobwebs and give your walls a good cleaning too. Use the window cleaner to wipe down the glass surfaces.
And finally, clean your floors and you are done.
Bedroom
We now enter the bedroom. But first, I want to share something from my teen years. My mom being a neat freak would bust into my room and give me an earful. I would often search for motivation and some help online on ‘how to deep clean your room’ hoping for a shortcut and a method in which it would stay clean longer. But *groan* the computer would never clean for me. Maybe with AI and smart homes advancing the way it is, we will be telling tales of cleaning to our grandkids.
Now, back to cleaning the bedroom.
The Bed
Wash the pillow covers, pillows, bed sheets, duvet covers, and blankets. If your bed has a cloth skirting that can be detached, wash that too. If anything is too big to be washed, you can call in the professionals for a little extra help, especially when it comes to the mattress. In case you wish to clean the mattress yourself, you can freshen it by spreading on some baking soda and letting it sit for 45 minutes, and then vacuuming it back up. To remove stains you can use shaving foam by letting it sit over the stains for 15 minutes or so and then wiping it off with a slightly damp rag. The rug must be damp with half and half of a vinegar-water solution.

The Rest of the Room
Dust and wipe down neglected areas, windows, fans, and any devices present in the room. If you have curtains or drapes, launder them. Wipe down all surfaces and reach into the corners on the floor and the walls. Use the telescoping pole.
This room was easy peasy.
Closets, Wardrobes, and Storages
Let’s clean out the closets.
Sort through your wardrobe and closets. Make piles of what you want to retain, donate, and let go. If it does not fit, does not look flattering or you haven’t worn it in the past year, it’s time to let go. Clean your shelves and hangers, wipe down shelves and inside drawers. And reorganize your wardrobe with the clothes and items you wish to retain. You can make use of drawer dividers, and fabric bins to organize smaller items.
Great….You Did It!
You completed your quest of deep cleaning your home. We bet that after all that sweat, elbow grease, and a lot of determination, you are feeling really proud of yourself. Tired, but proud. We are proud of you too.
So now, with the Feel Good moment in your heart, there’s one last thing you need to do.
Sit Back. Relax.
And enjoy your squeaky clean home.
If you are in the mood to deep clean your house generally or prior to a festival, and need a quick guide to help you through, this is it. Just use this guide to help you get the cleaning done throughout your house.


[…] you have to do is open your closet and remove unnecessary items that are worn out or you wish to donate. Clutter makes the space messy and can also dampen the mood. Decluttering not […]
Last weekend, we tried to clean our house, but after a few hours into it, we gave up. We were overwhelmed by all the things that had to be done, so we think we’ll hire a cleaning team to help us this week. We appreciate your insight on cleaning each room of a house and how to do it properly.
It actually takes a little bit of motivation and looking at the cleaning as a step-by-step process rather than an overwhelming task. Break it down room by room and section by section, and you will be done in no time.
[…] The room-by-room strategy is the backbone of the one-hour cleaning method. Start with the room that you feel needs the most attention, time and effort. For me, it’s usually the living room, given it’s where we spend most of our time. Once you’ve tackled the most challenging room, the rest feels like a breeze. […]
[…] If you like drawing up intricate plans or love getting a kick out of being systematic then make a room-by-room cleaning strategy. Half the battle is won with a positive mindset and the other half with a well-thought-out […]
[…] You have decided to deep clean your house. Here is a simple beginner's guide with a room-by-room strategy to help you. […]
[…] them the importance of cleanliness and organisation. How about you involve them in making your house cleaning strategy and plan of action? This will exercise their planning skills and there is no better team than a […]